
Farming Simulator 22
Host yourself or prefer to rent
Foreword
Almost everyone has asked themselves whether they can host a Farming Simulator 22 server themselves or if they need to rent a dedicated server.
Of course, you can also host a server yourself, for example on “old”, existing hardware.
But from a purely economic point of view this is rather inadvisable!
If you assume that the hardware is available, there are still some additional costs. For example, you need a 2nd version of the game, because the server needs its own license.
Furthermore you need of course the DLCs twice with which you want to play.
But the biggest cost is the electricity for the operation of a 24/7 available server.
Create server
To create a LS22 server you need a Windows computer ( 64Bit Windows 7, 8, 10 or Windows Server 2008, 2012, 2016 / 2.4 GHZ CPU / 2 GB Ram / 35GB memory ) with network access and a full version of the game.
Everything else is already provided by the base game.
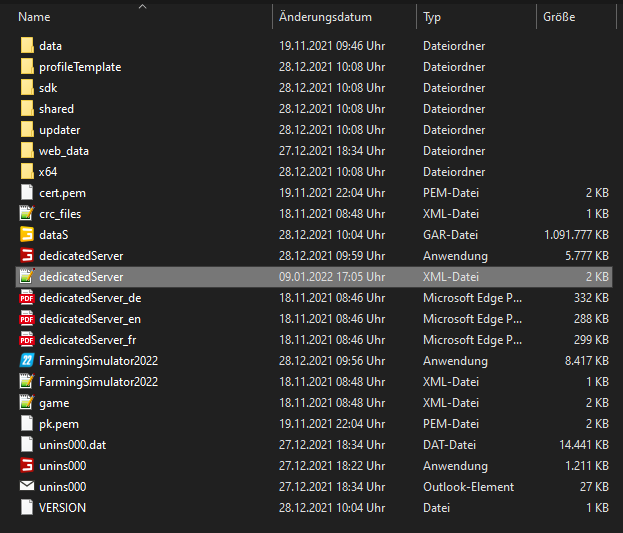
The first thing to do is to install LS22 on the computer that will serve as a server. After the installation you open the installation directory of LS22.
In the installation directory you will find the “dedicatedServer.xml”, which has to be opened with the editor or e.g. Notepad++.
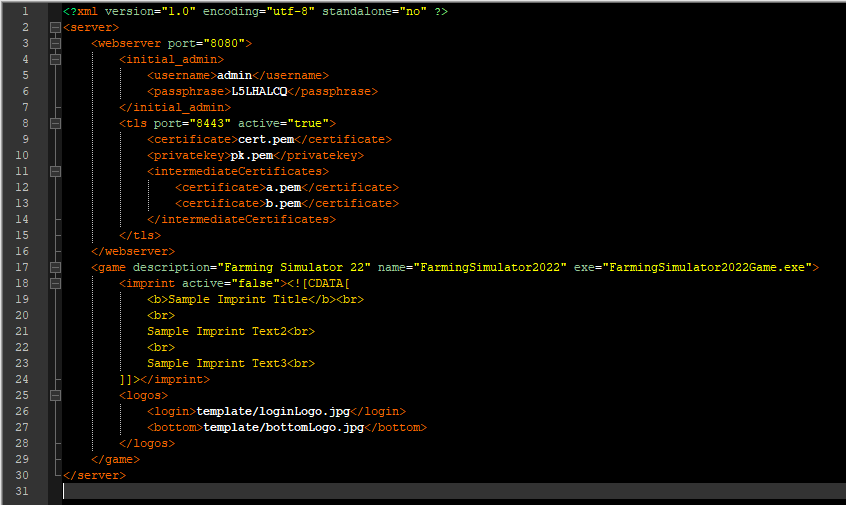
Config settings:
Line 3: Here you can set the port on which the webpanel can be reached later. If there is no other web application running on the server that uses this port, you can simply leave 8080 here.
Line 5: Here you can choose a username for the webpanel, default is always admin.
Line 6: Here you can change the admin password for the webpanel, but you can also copy the automatically created password.
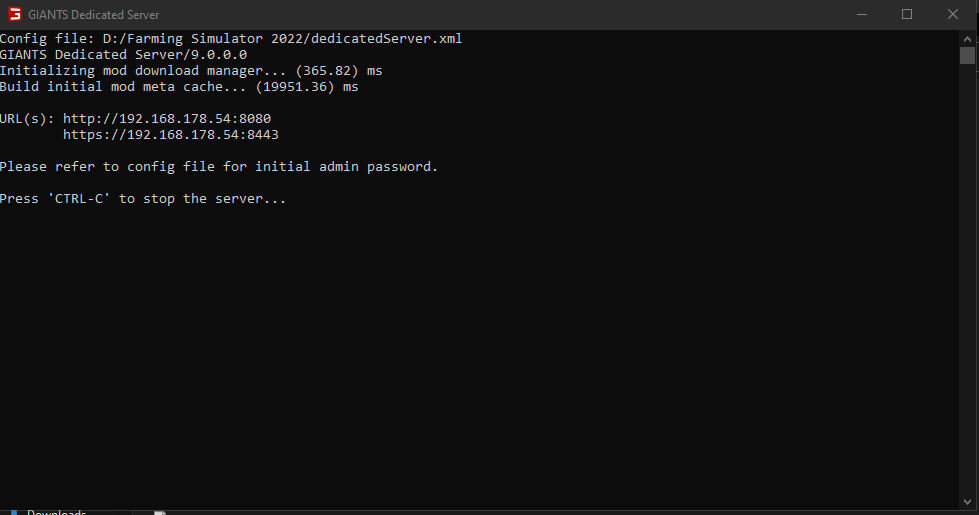
Start server:
The installation directory contains the “dedicatedServer.exe”, which is executed to start the web server for the web panel. To access the web panel, simply enter the IP address displayed in the window that appears in the browser.
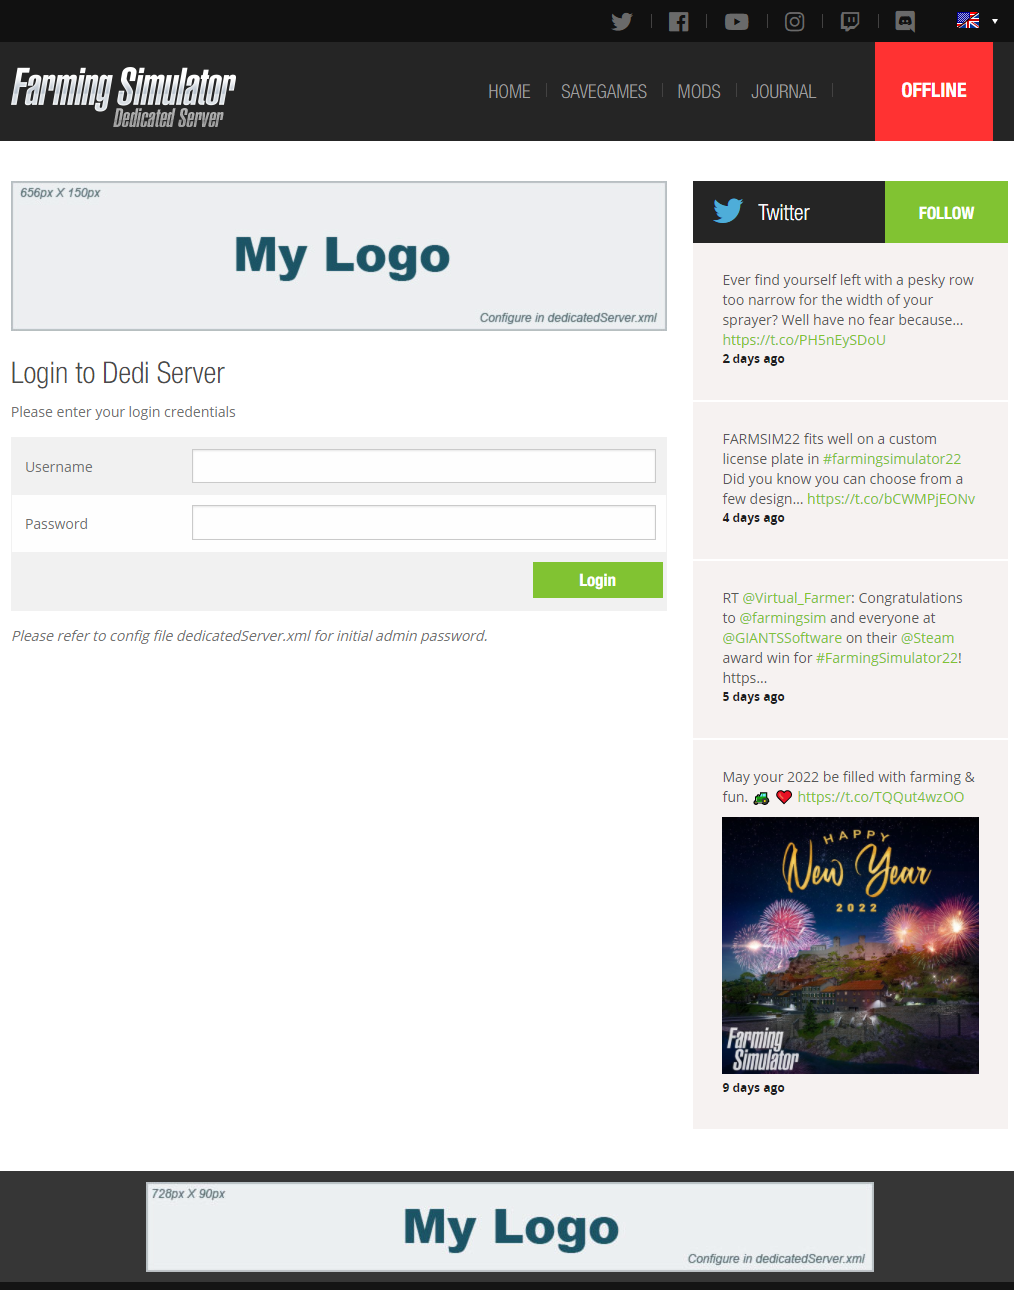
Now the login area of the web panel should have opened, there we now enter the login data that we have read or entered in the dedicatedServer.xml.
On the now displayed page we can now make the settings for the game server.
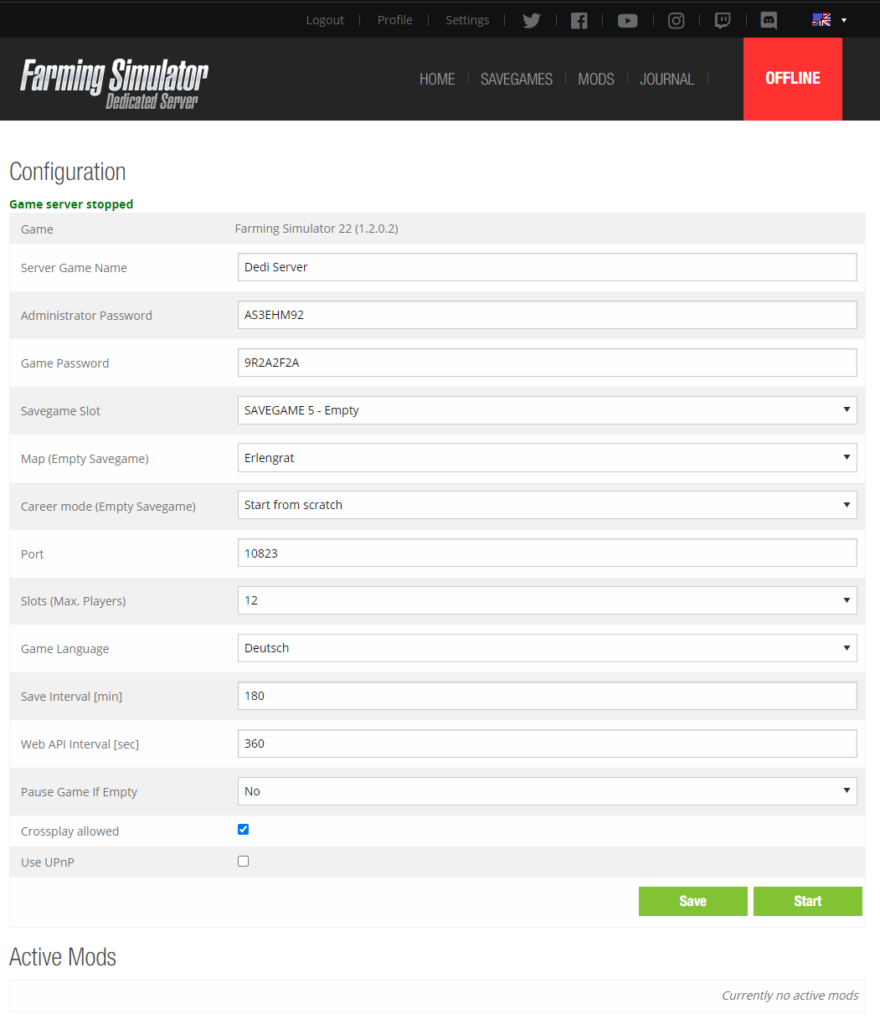
The port can remain on the default setting.
You can select how many players can play on the server (min. 2 to max. 16). This slot number can not be higher than 16 even for a self-hosted game.
At “Save Interval” you can set how often the server should save automatically, at “Web API Interval” how often the files for the API should be updated.
In the last 3 options you can decide if the game should pause when no player is on the server, if you want to allow crossplay and if UPnP should be used.
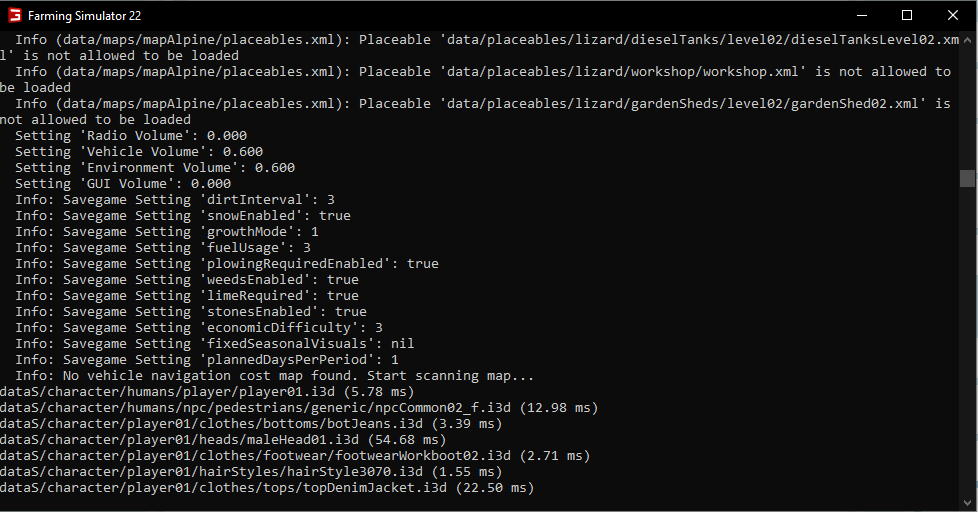
Now you should save your settings, with the button “Start” the server can be started. When the server is started, a console opens.
Server Rent
Renting a server is no trick and can be done in a few minutes, so you can start right away.
Conclusion
Taking all points into account, it does not make sense for me economically and in terms of effort to host a server myself. There are no advantages in doing so. The costs for the rent are much lower.
As already mentioned, I assume that the hardware is available!
The following table is based on the assumption that the server runs 24/7, the self-hosted server has a consumption of 300 watts (0.29 € per kWh), you want to use the server for a whole year. Not calculated are discounts, which one gets e.g. by longer running time.
The prices for the server rent, they the prices of G-Portal.
| Rent 4 slots | Rent 8 slots | Rent 16 slots | Host yourself | |
|---|---|---|---|---|
| Licenses | incl. | incl. | incl. | 40.00 € |
| DLC's | incl. | incl. | incl. | 40.00 € |
| Electricity costs | incl. | incl. | incl. | 750.00 € |
| Rent | 48.00 € | 93.60 € | 129.60 € | 0.00 € |
| Total | 48.00 € | 93.60 € | 129.60 € | 830.00 € |
At the latest after this calculation there is no reason to host a server yourself, but that’s something everyone has to decide for themselves.